Last weekend Mark and I had a go at making our own sushi!
The Five Essential Flavourings
- Soy sauce – this is the best known Japanese ingredient and is made from fermented soy beans, wheat, salt and water.
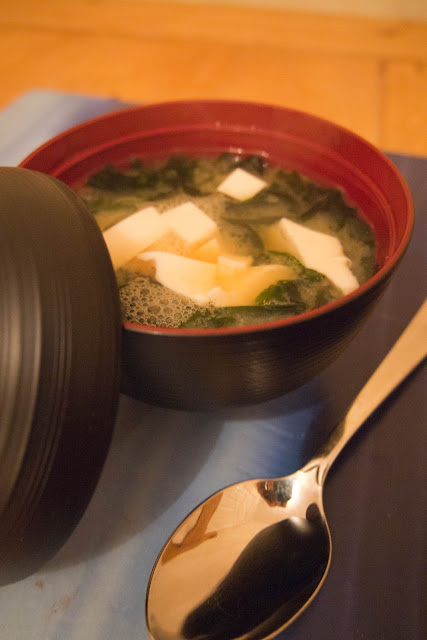
- Miso – this is made from fermented soy beans, and bought as a paste to make miso soup, for example.
- Vinegar – specifically rice vinegar, which is mixed with the sushi rice.
- Sake – a traditional alcoholic drink also used in cooking.
- Mirin – a sweet sake, which is only used for cooking as a sweetener.
We prepped some vegetables- avocado, spring onion and cucumber- with wasabi paste on the side. This was mixed from a powder in a tin, you just add water. Wasabi is made from an aquatic plant and has a strong flavour similar to horseradish so only add a tiny bit to your food!
Our meat fillings included pan fried strips of duck breast, smoked salmon and breaded prawns. We used the traditional panko breadcrumbs (coarse white breadcrumbs used to give a light and crunchy coating to fried food) cooked in hot oil. The prawns were definitely the best filling of the night!
Crunchy and flavoursome- yum! They went really well with our sweet chilli mayonnaise that we created too, after tasting it at Shiki. Great combination!
Cream cheese as well to go with the smoked salmon.
The Method
- Fold and tear a nori sheet (this marine algae is formed into paper-like sheets and is an essential ingredient for making sushi) into two rectangles of equal size. Hold a piece of nori in one hand with the smooth side down.
- Take a spoon of sushi rice and put it on the nori sheet and spread it out a little.
- Place your chosen fillings across the centre of the rice.
- Lift the bottom corner of the nori and fold it over, then continue rolling until the nori forms a cornet shape.
- Use a couple of grains of sushi rice to seal the edge.
It was quite easy to fill the nori sheets with sushi rice, and then top with your chosen filling. The hard part was not overfilling so you were still able to roll it up neatly!
Mark seemed to have the knack better than I did!
- Cook the rice according to packet instructions (about 5-7 minutes to reach a rolling boil, then a further 5-7minutes on a low heat).
- Leave to stand in it’s own steam for 10minutes.
- Then mix the rice with the sushi vinegar (made with rice vinegar, sugar and salt- check the book for quantities as it is quite precise).
- The rice will become glossy as it absorbs the vinegar and will keep at room temperature for 4hours.
- 50g tofu
- 4tbsp wakame (green silky seaweed, sold in dried form and rehydrated for soups and salads)
- 1 litre dashi stock (you can make this from scratch but we used a prepared mix- it is the basis of many Japanese dishes)
- 6 tbsp miso paste
This was a really great evening, and while cooking Japanese food seemed initially complicated and a little daunting, once things were prepared it all came together really well! It created a fun atmosphere to dinner, that we were making our food at the table, and laughing when it didn’t go so well!
Give it a try 🙂
Beki x


